Pricking Out Seedlings – How to yield stronger plants and save space!
I first heard the term from Charles Dowding (if you don’t know him, I suggest you look him up), and I went huh? To start off, you sow multiple seeds in a small container, doesn’t matter what variety. Once they’ve germinated and grown a bit, you then ‘prick them out’ into their new bigger containers and homes. You can either do this into the final container they’ll stay in, or if you’re trying to save space prick them into a medium sized container and then pot them up, more on that later.

Why would you prick out seedlings you ask? A few reasons!
-One, it saves time. You quickly can sow multiple varieties of seeds. Pack your compost in your container, sprinkle your seeds on, and then cover to the appropriate depth for that seed variety.
-Two, as far as space, you’ll thank yourself later! I used to sow seeds in 72 cell trays… every single variety. And when those trays don’t have great germination rates, say 70%, you’re left with a lot of empty cells that are just sitting wasting space.
-Three, information is key. When you sow multiple seeds in the same compost and conditions and a certain variety doesn’t come up, it’s easier to determine the cause. Bad seed? Wrong compost mix for that seed? Wrong temp? It helps with troubleshooting for future problems down the road.
Now if you’re thinking, “Great, I’d like to try it, but how do I do it!?” Read on friends, read on.
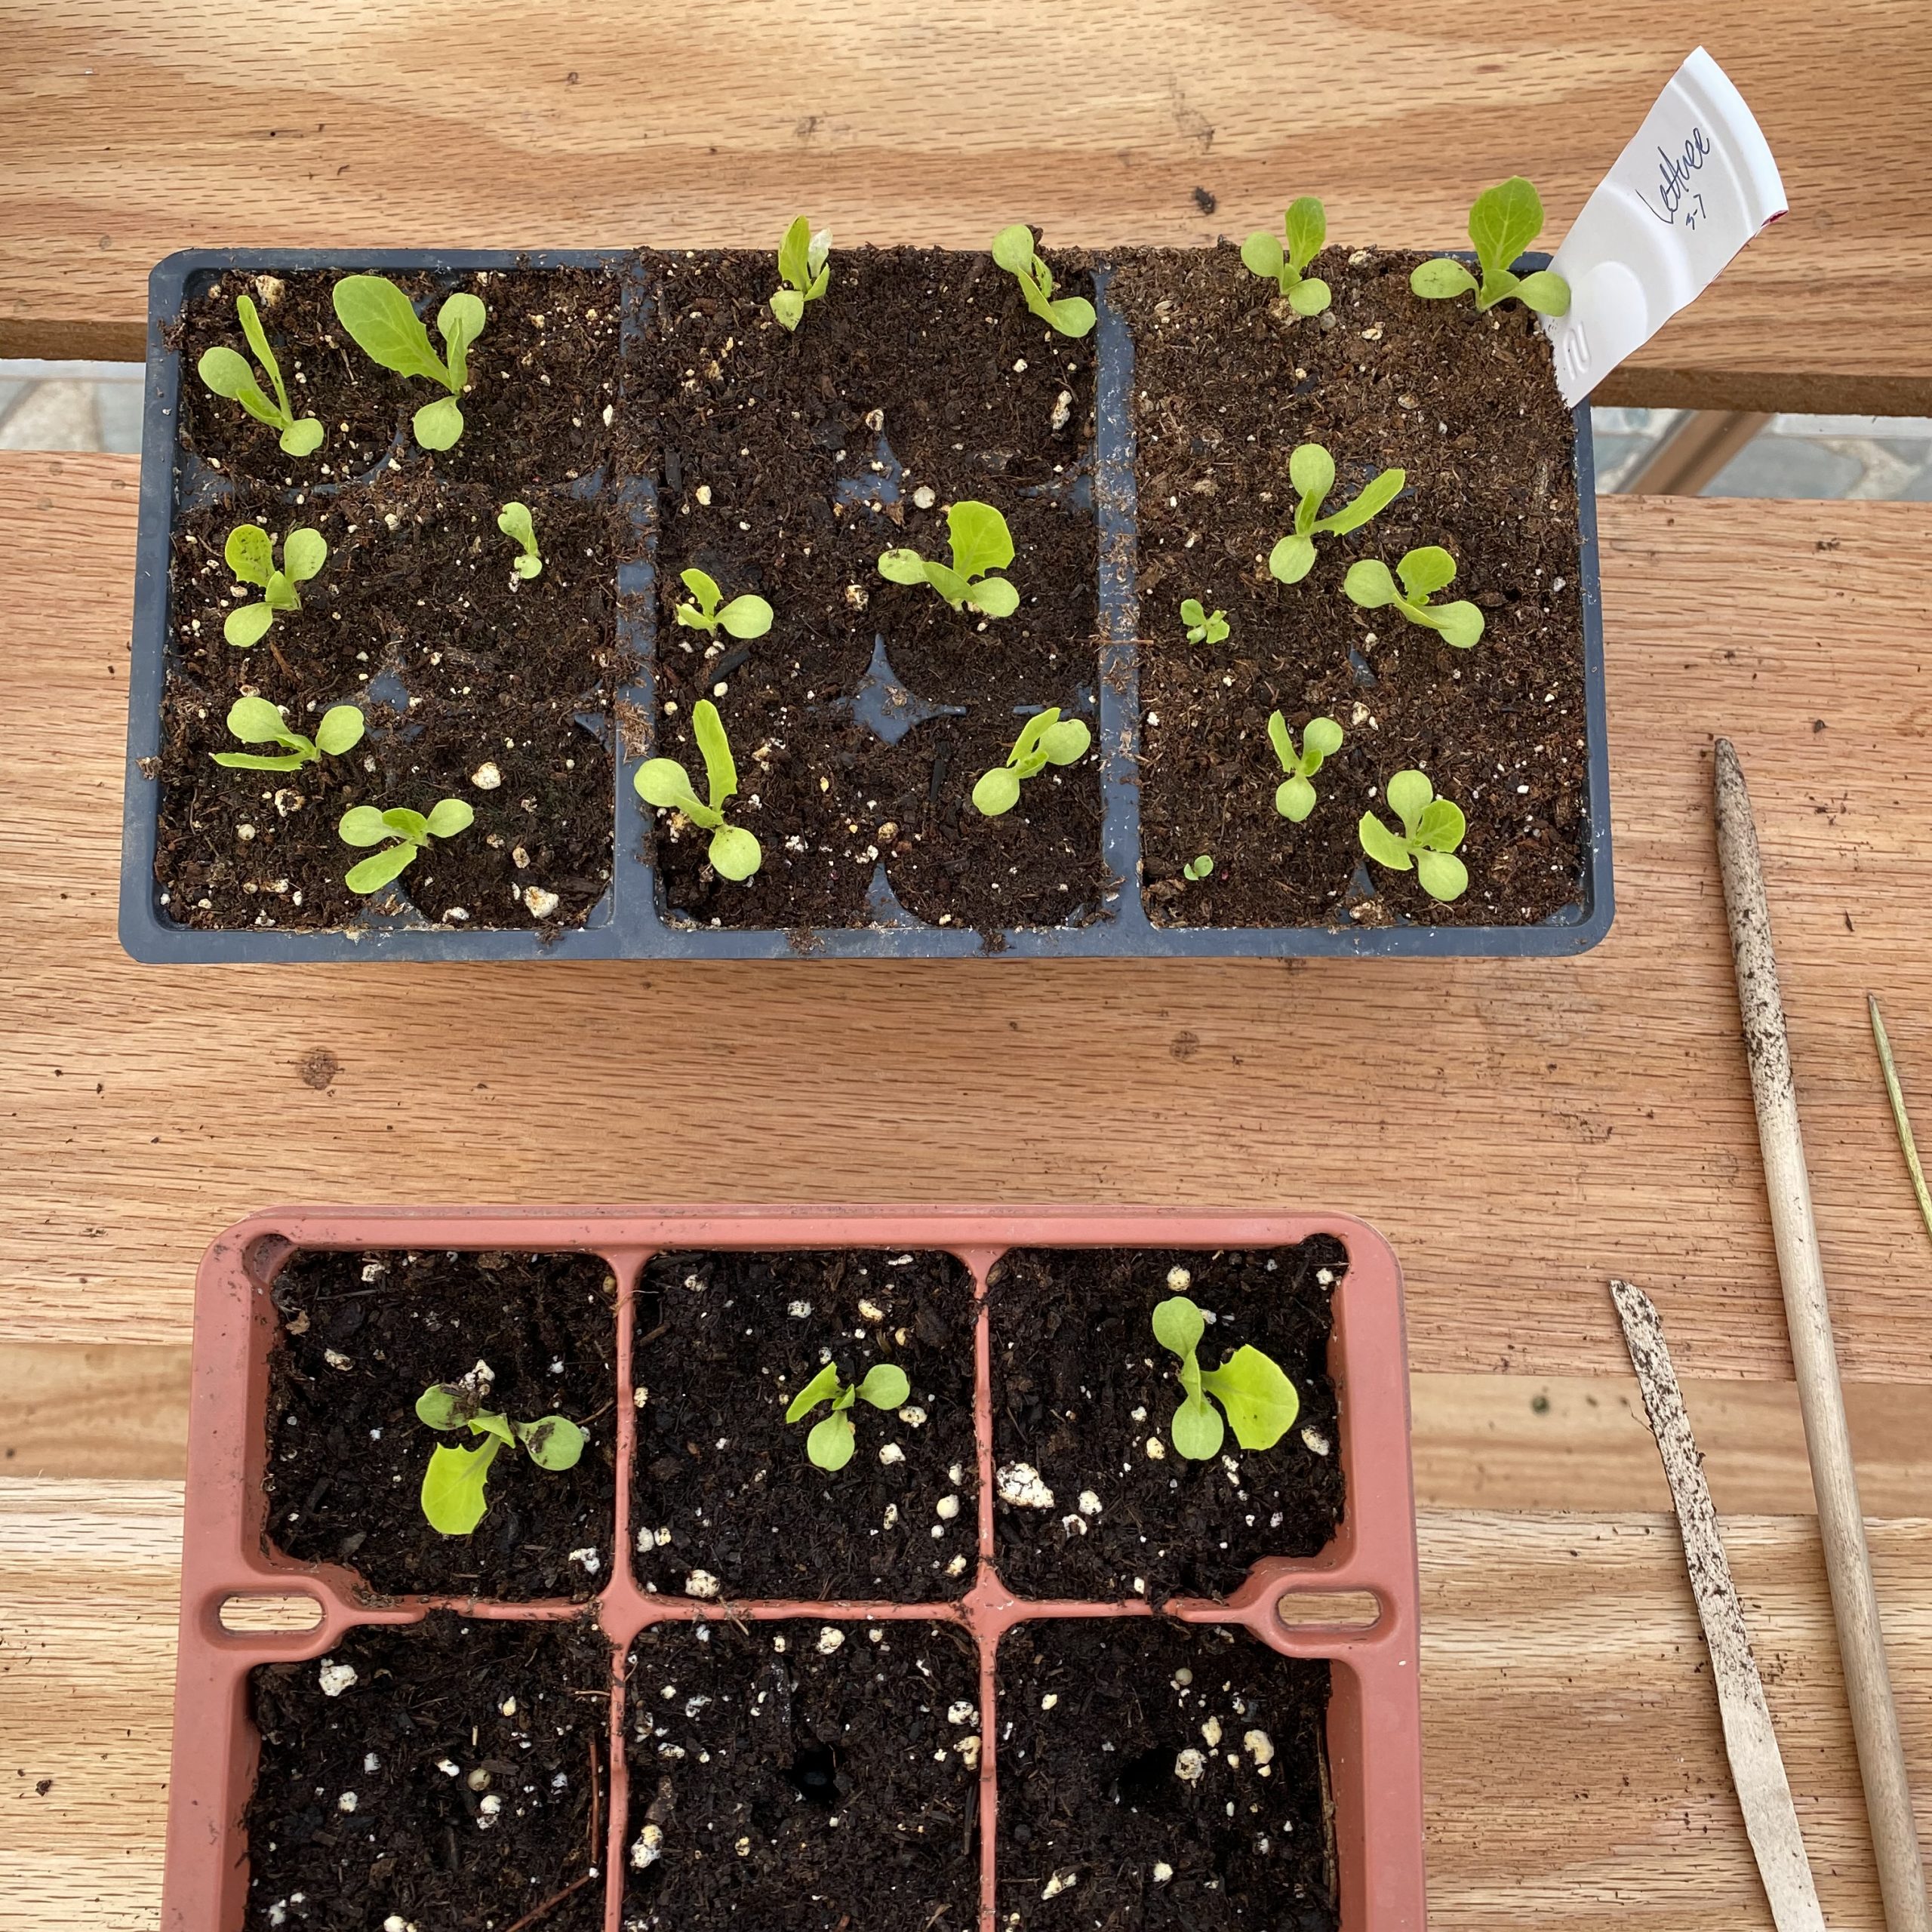
-Start your seeds. Once they’ve germinated pretty evenly and before they get too leggy, it’s time to prick them out.
-Choose your containers you’d like them to move to, fill with compost and water well. It is so much easier to prick out seedlings into moist compost. Yea, I said it.
-Contrarily, I think letting the seedlings that you’re pricking out be a little drier is easier. (So you want the containers they’re going in to, to be nice and wet. The container they’re coming out of, try holding off on watering for a day or so beforehand pending your conditions.) I find that the roots are easier to tease apart and separate from the soil if they’re a little drier.
-Use a tool to make yourself a hole in the new container. You definitely don’t need something expensive, I use a knitting needle!
-Gently lift out the seedling, being careful of their little baby roots, and place them in the new container.
-You can absolutely bury most of the stem! So if your seedlings do get a little leggy, bury them up to the leaves! Most varieties of plants don’t mind this at all and it will yield a stronger sturdier plant. TADA!
About The Author
admin
Related Posts

Seedlings: A Comparison of Container Size
It’s that time of year when the seedlings are getting ready to head out…
May 12, 2021
Seedling Care
Your little seedlings have been tucked into the garden… Now what? Alright so you…
July 21, 2020